
Preamble
Ever since 2014, schools using Google Workspace for education got free unlimited storage for all their users. In 2018, whilst studying high school, I stumbled upon this fact on the Google Drive page and was awestruck: instead of the usage page citing the regular “2 GB used out of 15 GB”, it simply said “2 GB used”.
This kickstarted an era in my life where I took unlimited storage that I could always access and share with anyone for granted. It was about that time that I was asked to start making videos of the different happenings at my high school, where I’d usually grab the family Sony α5100 and record for hours on end. The unlimited storage deal for Google Drive felt like a match-made-in-heaven at the time for the multi-gigabyte videos1, and later inspired me to start using tools like rclone to make mass uploads and backups to this unlimited storage medium robust.
During the COVID-19 pandemic, there wasn’t much opportunity to shoot videos of in-person events, but my Google Drive catalogue kept on growing: I joined the mind virus that is the r/DataHoarder community, and started archiving everything I deemed at least a tiny bit relevant (or just simply cool).
Then, in February of 2021, following the November 2020 announcement that Google Photos would no longer offer free unlimited storage for everyone when using their “high quality” compression2, Google once again reminded us that there is no such thing as a free lunch by declaring a hard limit of 100 TB for the entire school as a new storage quota3. Given the size of our institution, this was not a big deal at all, but a certified capitalism moment nonetheless.
Though the global limits didn’t pose any big issues to me or my school, another thought started lurking in my mind: I’ll be graduating in not so long, and probably should have a backup of all of this.
Project DeDriviFi
When finally I started having these semi-smart ideas about backups and data management, it was December of 2023. That gave me about 10 months to get the whole ordeal done. As the first solution for my then-current problem of not having a single backup of all of the Google Drive data, I started looking into Backblaze Personal Computer backups, which promised unlimited storage for about $7.80 when billed bi-annually. The catch? The data you’re backing up is only mirrored, so all your files need to be physically present on your source (drives) and you can’t just clean them up after you’re done. Because of this, you also can’t back up larger amounts of data than the sum of your disks.
Also, there is no API access and their clients are only available for macOS and Windows, making server backups infeasible4.
The cost argument
Even with that catch, Backblaze seemed like the obvious choice in the beginning. It allowed me to scale the amount of data without paying the heavy pricing fees of Cloud storage providers.
For my backup, I’m sure Google would love to force me into paying $160/month for their 30 TB plan. Microsoft would not even let me do it under one personal account and S3 would unsurprisingly charge me crazy sums of money, billed every month56.
The result of all that deep thinking? A 20 TB Seagate HDD for about $450, a year’s worth of Backblaze for $120 and my old MacBook for running the backup. This, at least, was the temporary solution that would help me get things out of Google Drive onto another service.
The big download
When the whole setup was complete, I was able to actually start downloading the files – after some server-side cleanup, the total amount I needed to fetch ended up hovering just shy of 6 TB. Because of my aforementioned experience with rclone (which admittedly ended up being a bit of a golden hammer for me), I chose it to handle the approximately 125K files to download. I ran the first command on March 27th, 2024.
This process ended up taking much longer than I thought: first, things started going smoothly, transferring about 1.5 TB in just the first 24 hours. There were some errors, but I was hopeful that re-trying the same rclone command would resolve those. This is where things started to become slow. It took another 3 days to download another 1,200 GB, which turned out to have been caused by my dataset of tens of thousands of pictures of food I used a couple years prior to teach a neural network – downloading that many files is just bound to make the whole transfer unbearably slow.
After overcoming that bottleneck (by waiting for it to finish), another issue came up: larger files kept failing to download, which I assumed was because of them not being able to be downloaded effectively in parallel with everything else. This meant that I split the download into two passes, in which I deferred files larger than 5 GB for later. After firing off the first batch again, I went to sleep. Then, the next day, on June 1st, right after I moved my backup setup into another room, I got a friendly macOS notification:
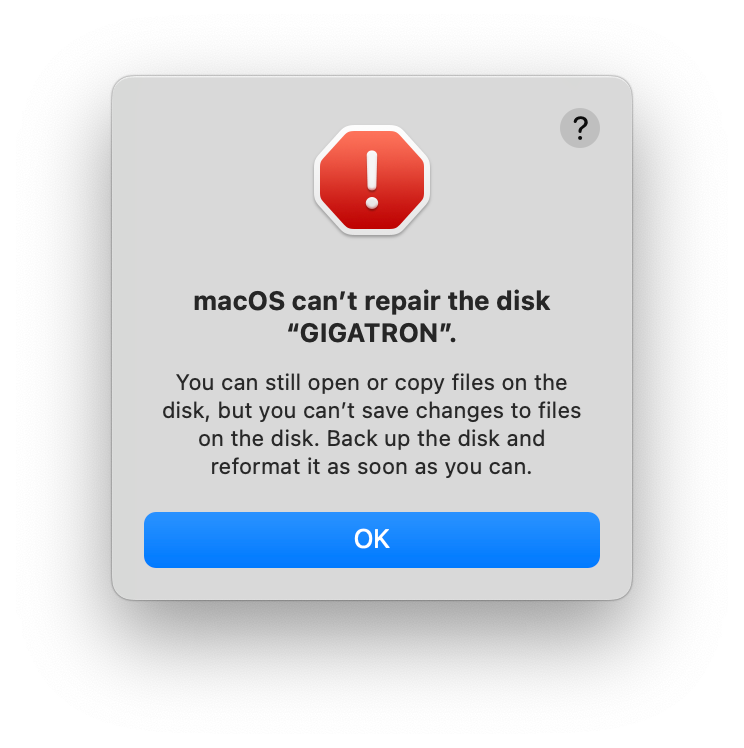
I thought to myself that this was a matter of unplugging it and plugging it back in again a couple of times, but it was not. No worries, I thought to myself, I’ll just copy the backup as-is to another drive and go return the new one. So I did, and a couple days later, I got a message saying I’ll be getting a replacement.
When I picked up my replacement unit, I was kind of worried this would happen again. That fear ended up being the wrong fear to have. Just after unpacking the drive, I saw a couple of dents in it. I figured that is no good for a brand new hard drive to have, so I returned it again. Bad luck, I guess.
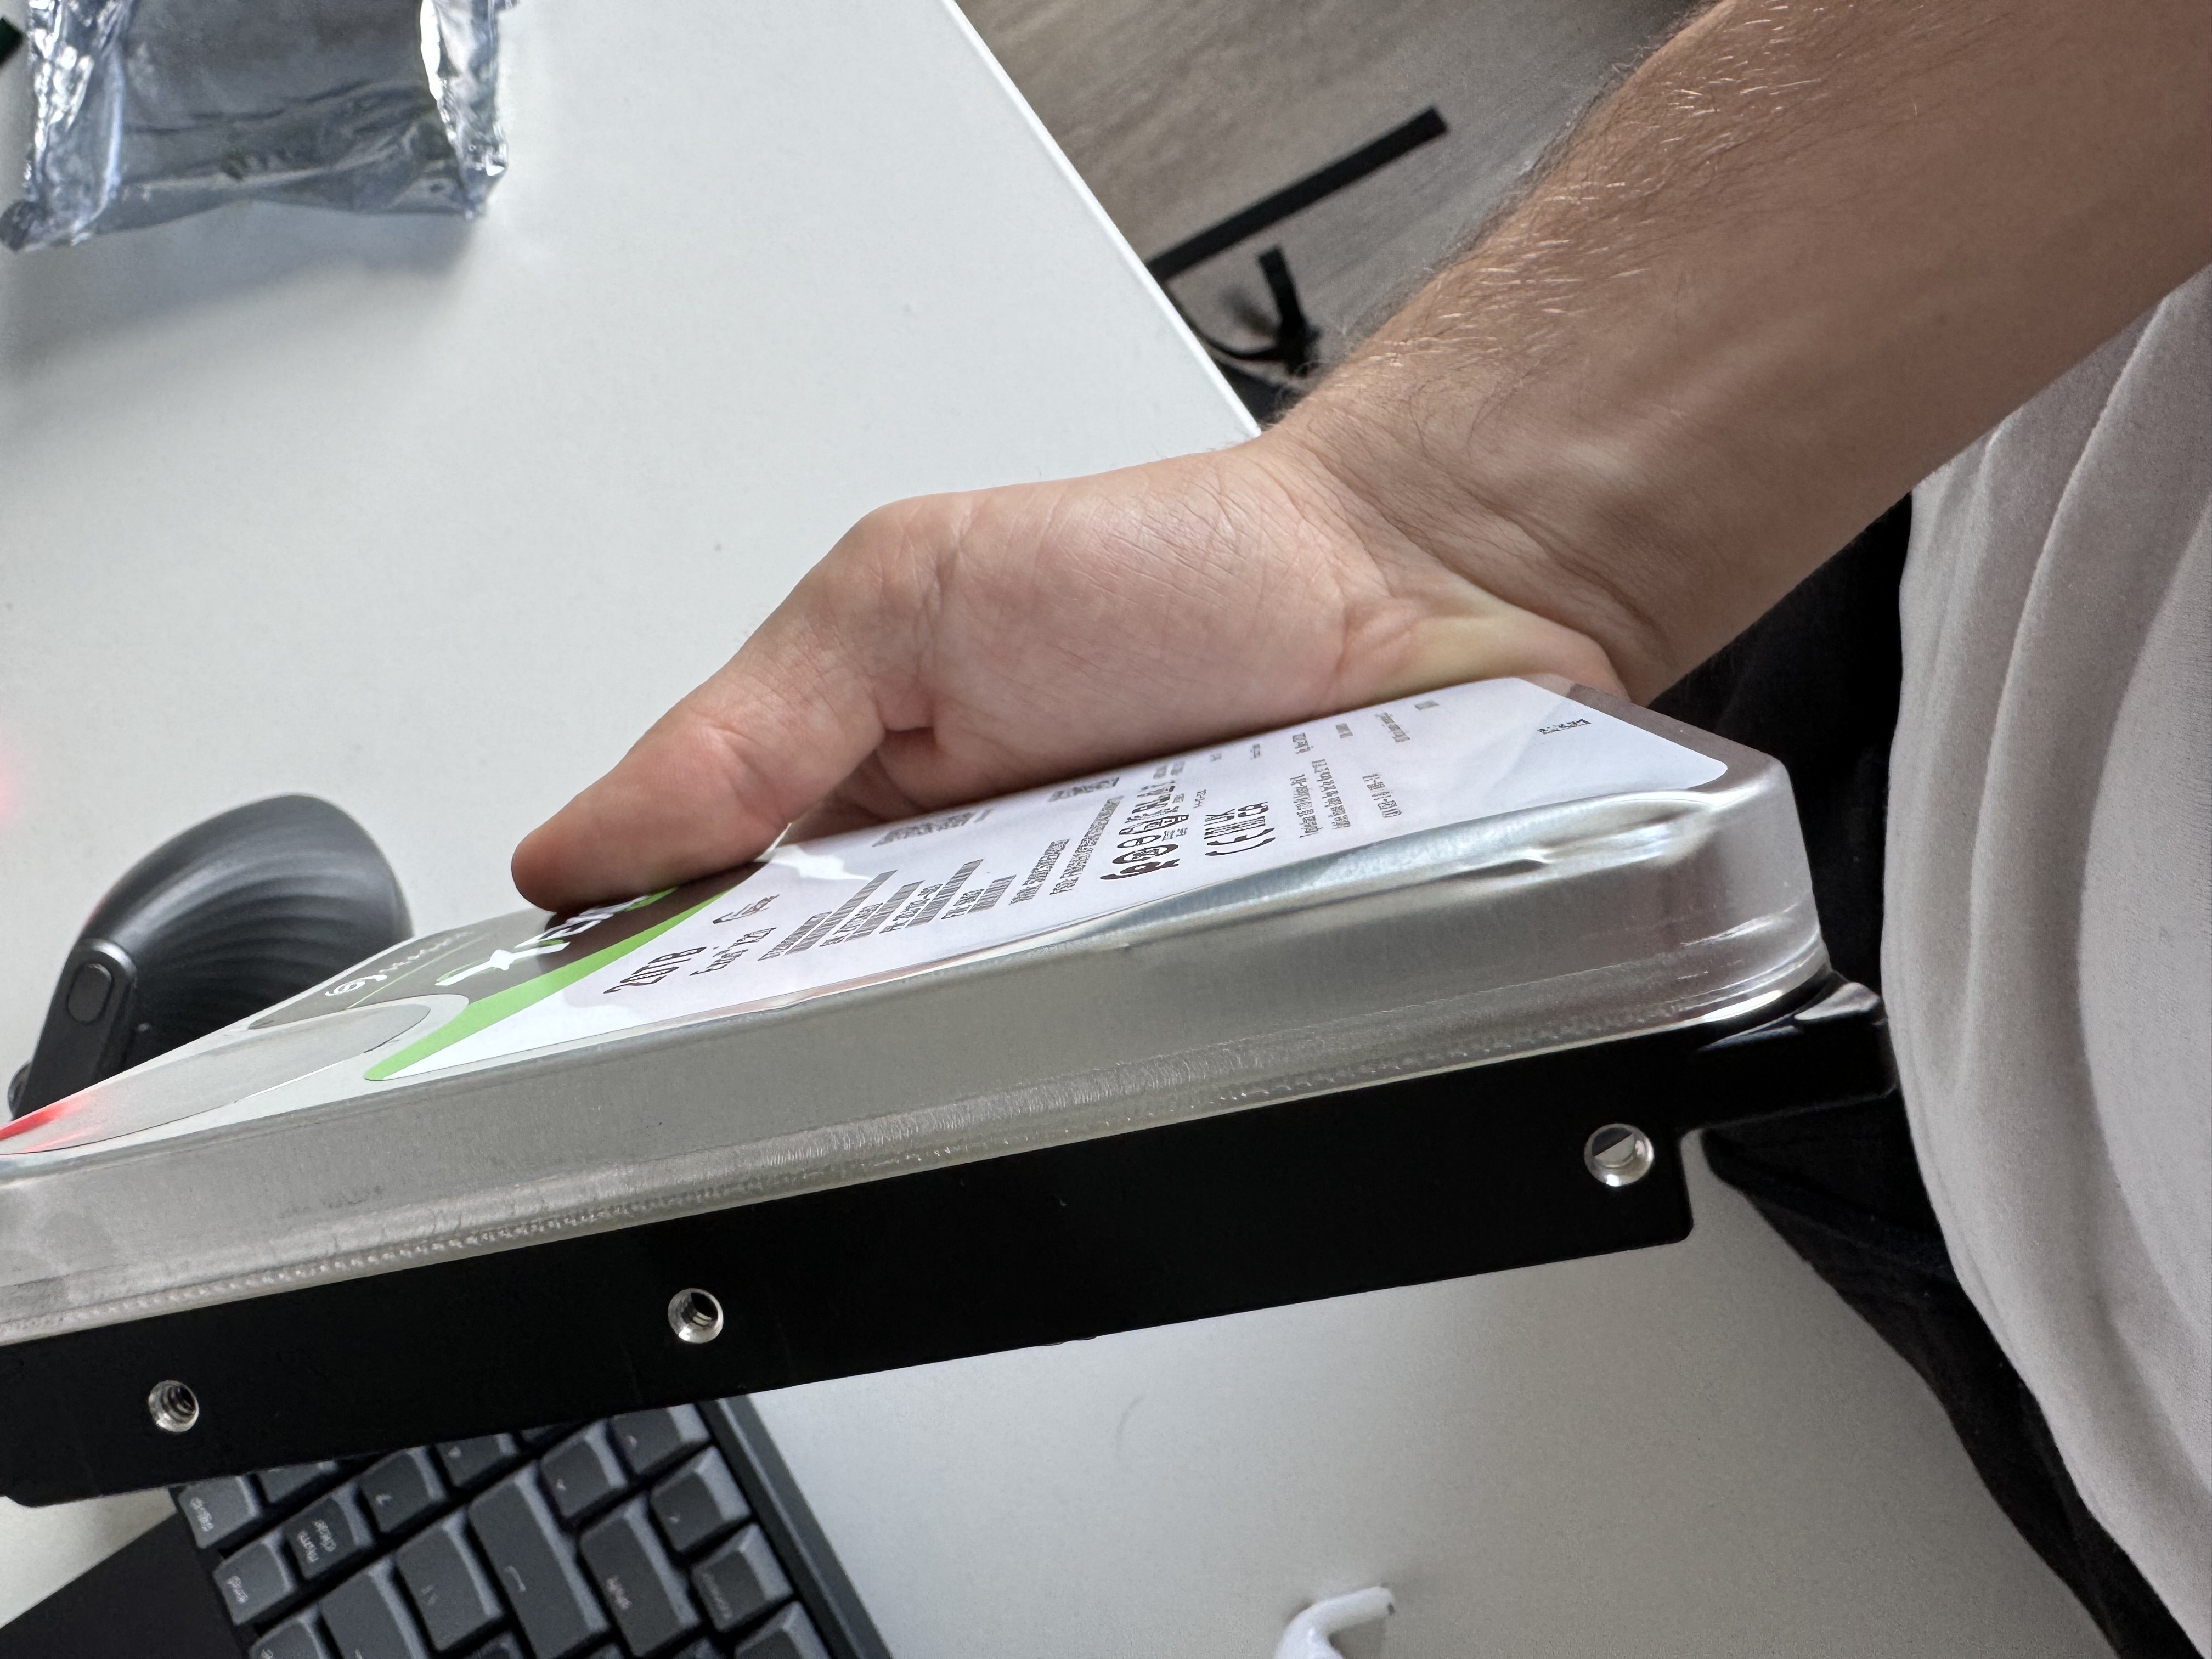
This was not very motivating, and halted my progress quite a bit: nothing happened for about 2 months and so suddenly, we find ourselves in August of 2024. I searched around for second-hand hard drives and ended up finding a 16 TB Western Digital drive for about $146. I pulled the already-done backup from my secondary drive to the new one, and started rclone again.
Since I was doing this on my M1 MacBook Pro, caffeinate was very helpful when running these transfers for days on end: phase 1 of the download (the one for all files under 5 GB) took about 46 hours. I then bumped the --max-size to 20 GB and ran it again. This ended up bringing us from 4.1 TB to about 4.5 (note that this required many retries, as something always went wrong with the Google Drive download on every session).
Giving up on open-source software
Given the issues with the third-party integration of Google Drive into rclone, I figured I’d try removing the middle man. I begrudgingly installed Drive for desktop and turned on their local mirroring feature. This method seemed to show promise: in just a couple hours, I managed to download over 950 GB into a fresh data folder. The next day, we were already at 3.5 TB! Unfortunately, that excitement did not last: the synchronization progress slowed down significantly and couldn’t get past 3,700 GB, or just over 65% of the way there. 12 days later, I pulled the plug on this little side experiment.
I was not totally desperate yet, though: Google Takeout was not killed by Google yet, and from a zoomed-out perspective seemed like the ideal tool for an export as large as this. I chose the option to download the data as .zips each with the size of 50 GB at most (the largest option). Despite basic arithmetic, the fact that 120 download links showed up on the takeout page surprised me.
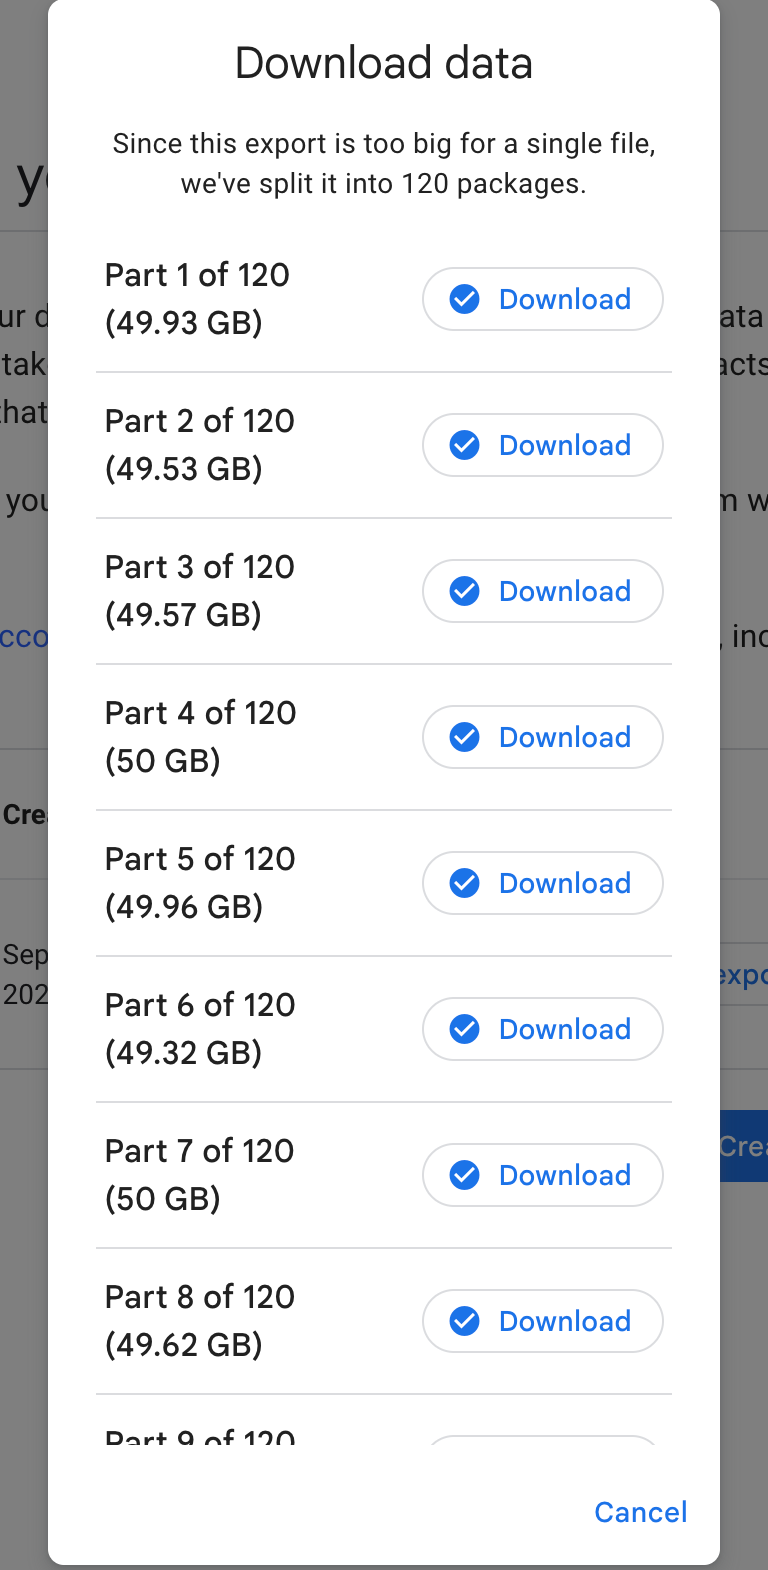
Because takeouts are supposed to be used as a web GUI, downloading each new file got really tedious – I had to stop whatever I was doing every 30 minutes or so, just to go click on a download link and confirm the download destination on 3 more zips. I also had a deadline: you get just 7 days to download everything, no matter the total size of the data. Because I had other things to do in life than just to be at home all the time, I ended up having to use RustDesk from my phone to finish all the downloads in time.
Alas, the download was finished. I started backing up all the zips to Backblaze, and once that was done, I settled on extracting them into a single folder structure with 7z x 'takeout-*.zip'. Many hours later, we got an exit code 0. Yess!!!!
So now we have the unarchived data, but where do we actually sustainably store it long-term?
The NAS
I’ve been thinking about NASes for many years prior to 2024, but they always felt super un-sexy: you either buy something managed, and pay a bazillion dollars for it, or you spend months of your life scavenging the web for cheap parts, and end up building something that will break every 2 weeks7.
I think what broke the fear of building my own NAS was getting LTT and Wolfgang-pilled into having an adoration for everything that rhymes with home lab. After some more months, I decided to give the build showcased in this video a shot.
I started compiling a list of parts I’d need, and as I began ordering from all over Europe, it was time to finally settle on the software unknowns.
For one, the OS. Was I going to stick to my roots and just install Ubuntu server, or be brave enough to embrace the coolness of Nix? I for sure did not want to go down the super-managed and proprietary route of Unraid. At least that’s what I thought at first…
After further consideration, I realized that pursuing a more managed and easy-to-maintain operating system wouldn’t be as bad as I always thought – yes, I wouldn’t be as cool as I’d be maintaining some unstable Arch installation, and yea, I’d also be limited in what all such a machine could do, but maybe, just maybe, that would be for the better.
What I ended up choosing is TrueNAS Scale, an open-source and Debian-based OS, which is super easy to set up and frankly makes all the hard parts really simple. Everything is web-based, so as you are initially setting up, there’s no need to even connect a display (provided you can figure out your IP from your router’s admin interface).
The “making the hard parts simple” included the second big software choice, which was the disk setup. I was very new to RAID, and have never heard of wild abbreviations such as ZFS, but thankfully, Louis Rossmann (and in no small part, Claude) were there to teach me. Long story short, I chose a 4-wide array of RAIDZ2. And it turns out, TrueNAS now lets you add drives to RAIDZ arrays when you go out and buy more8.
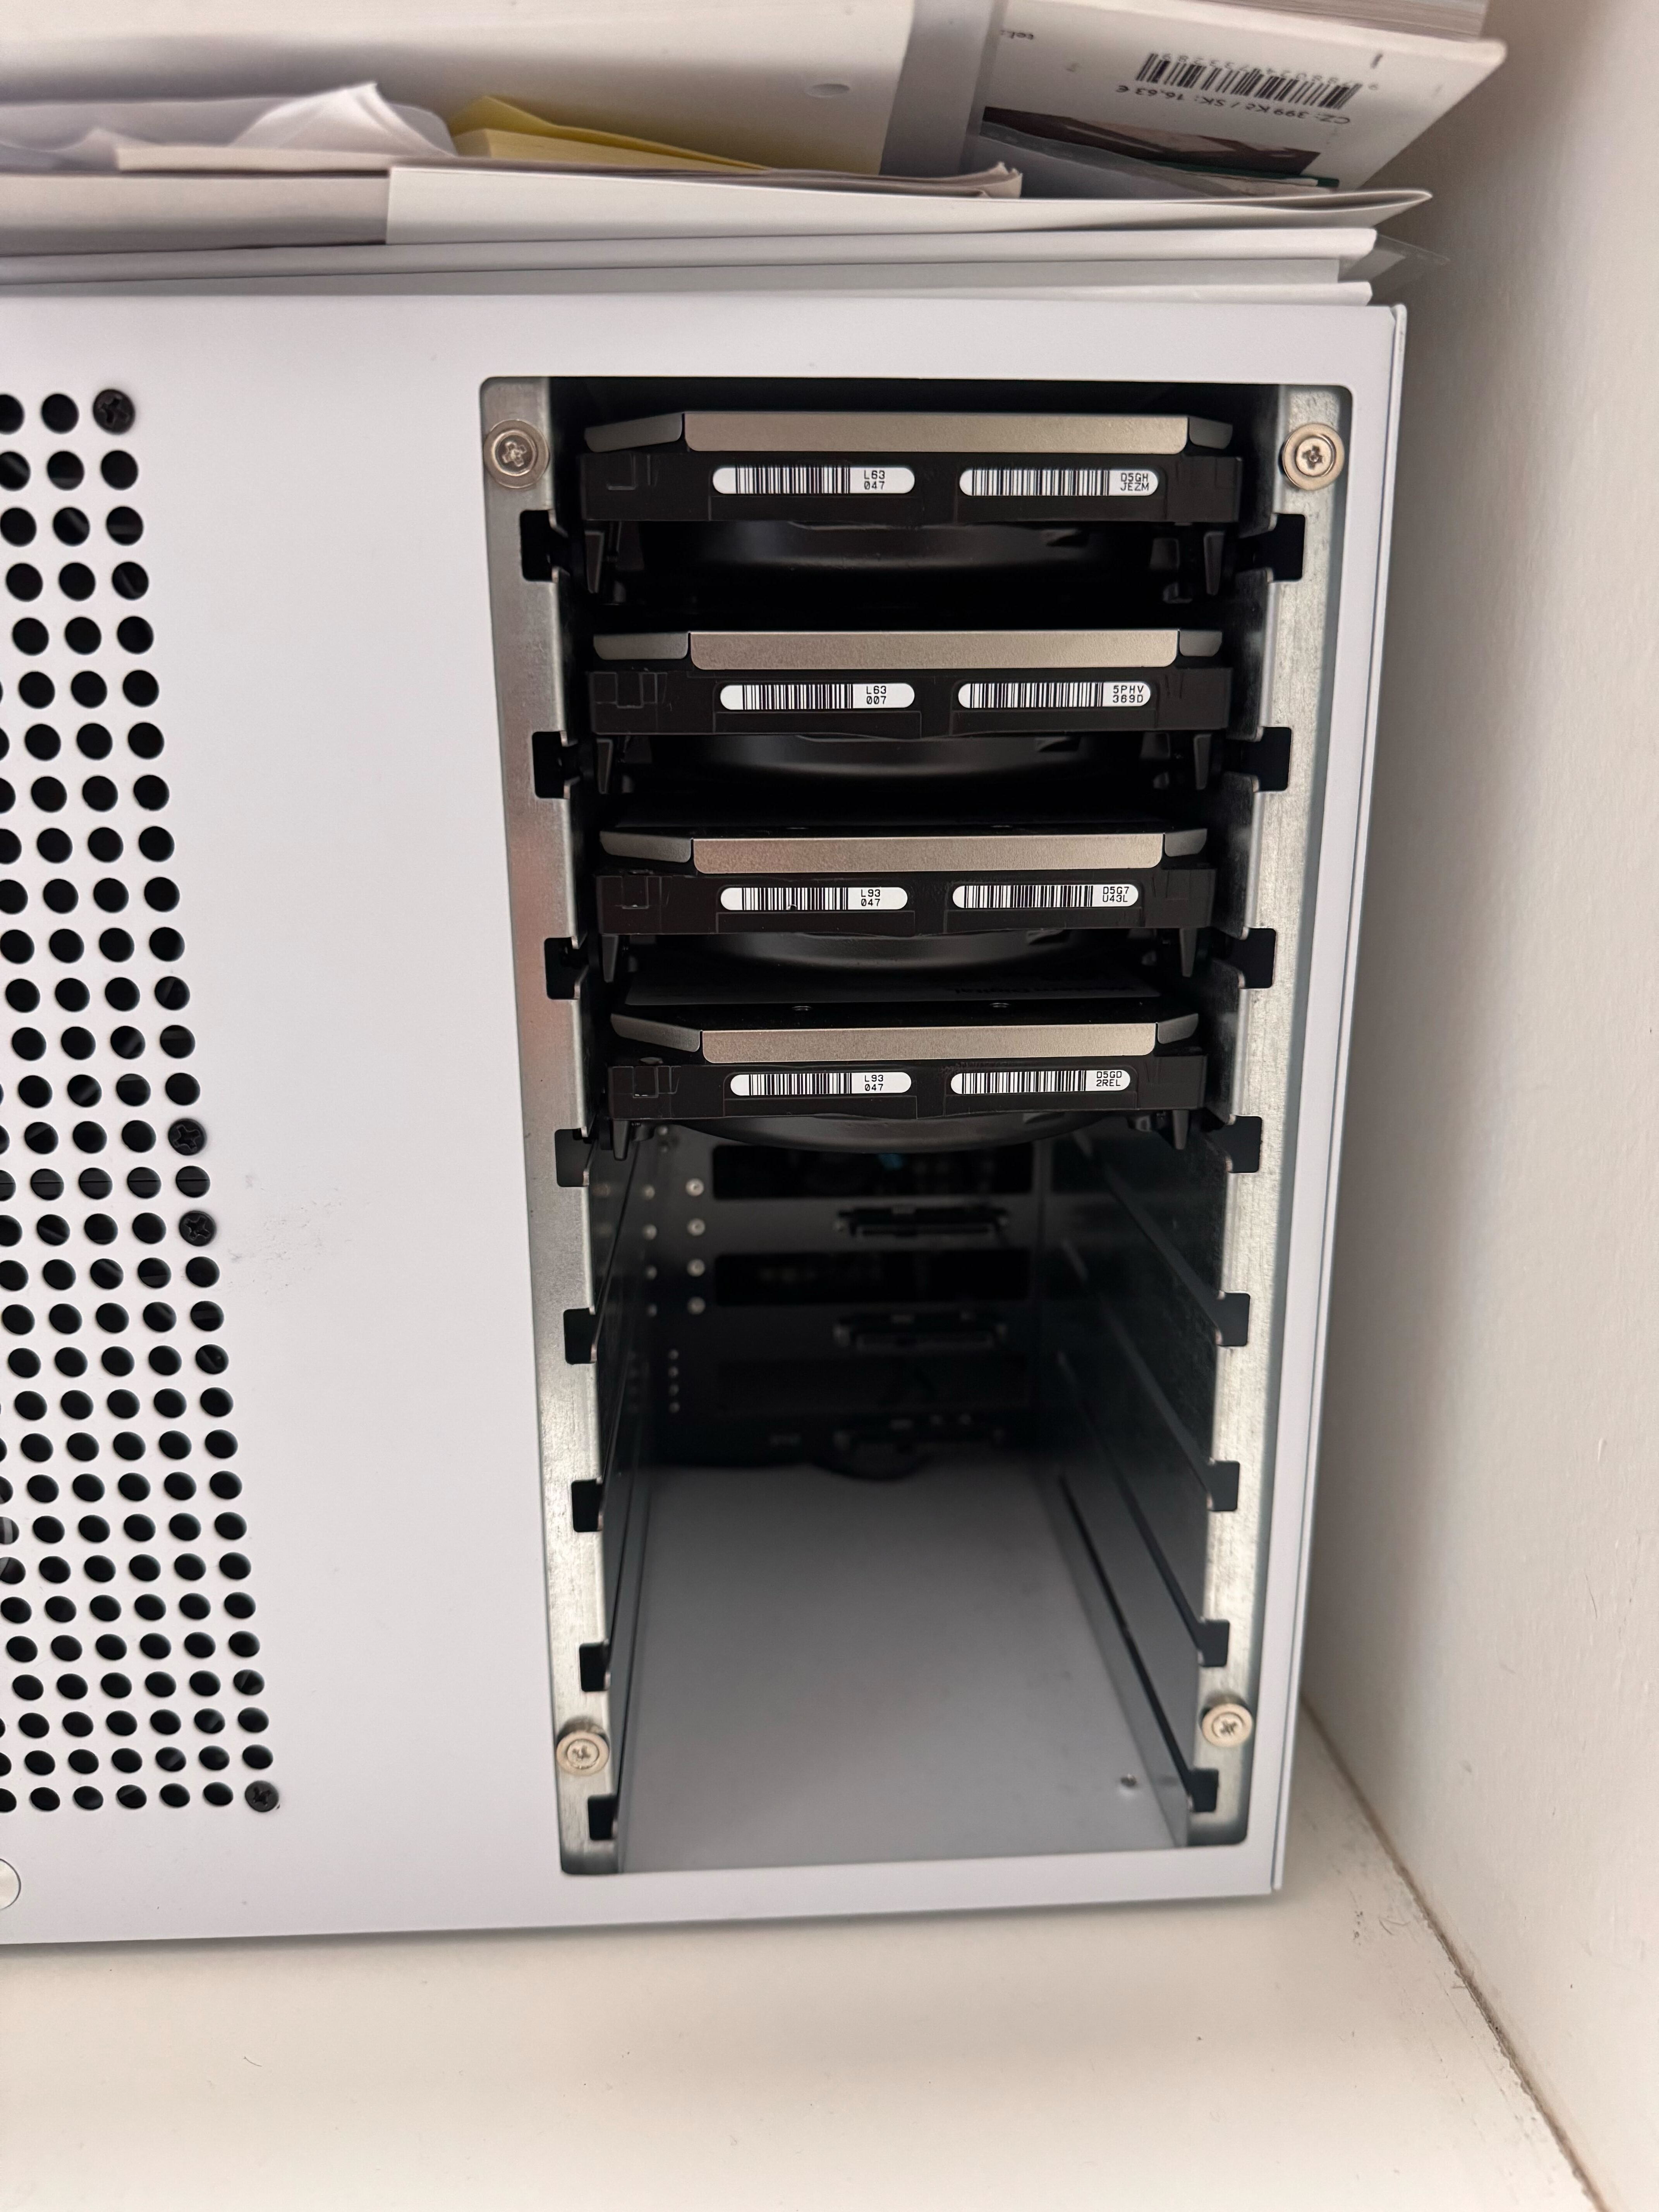
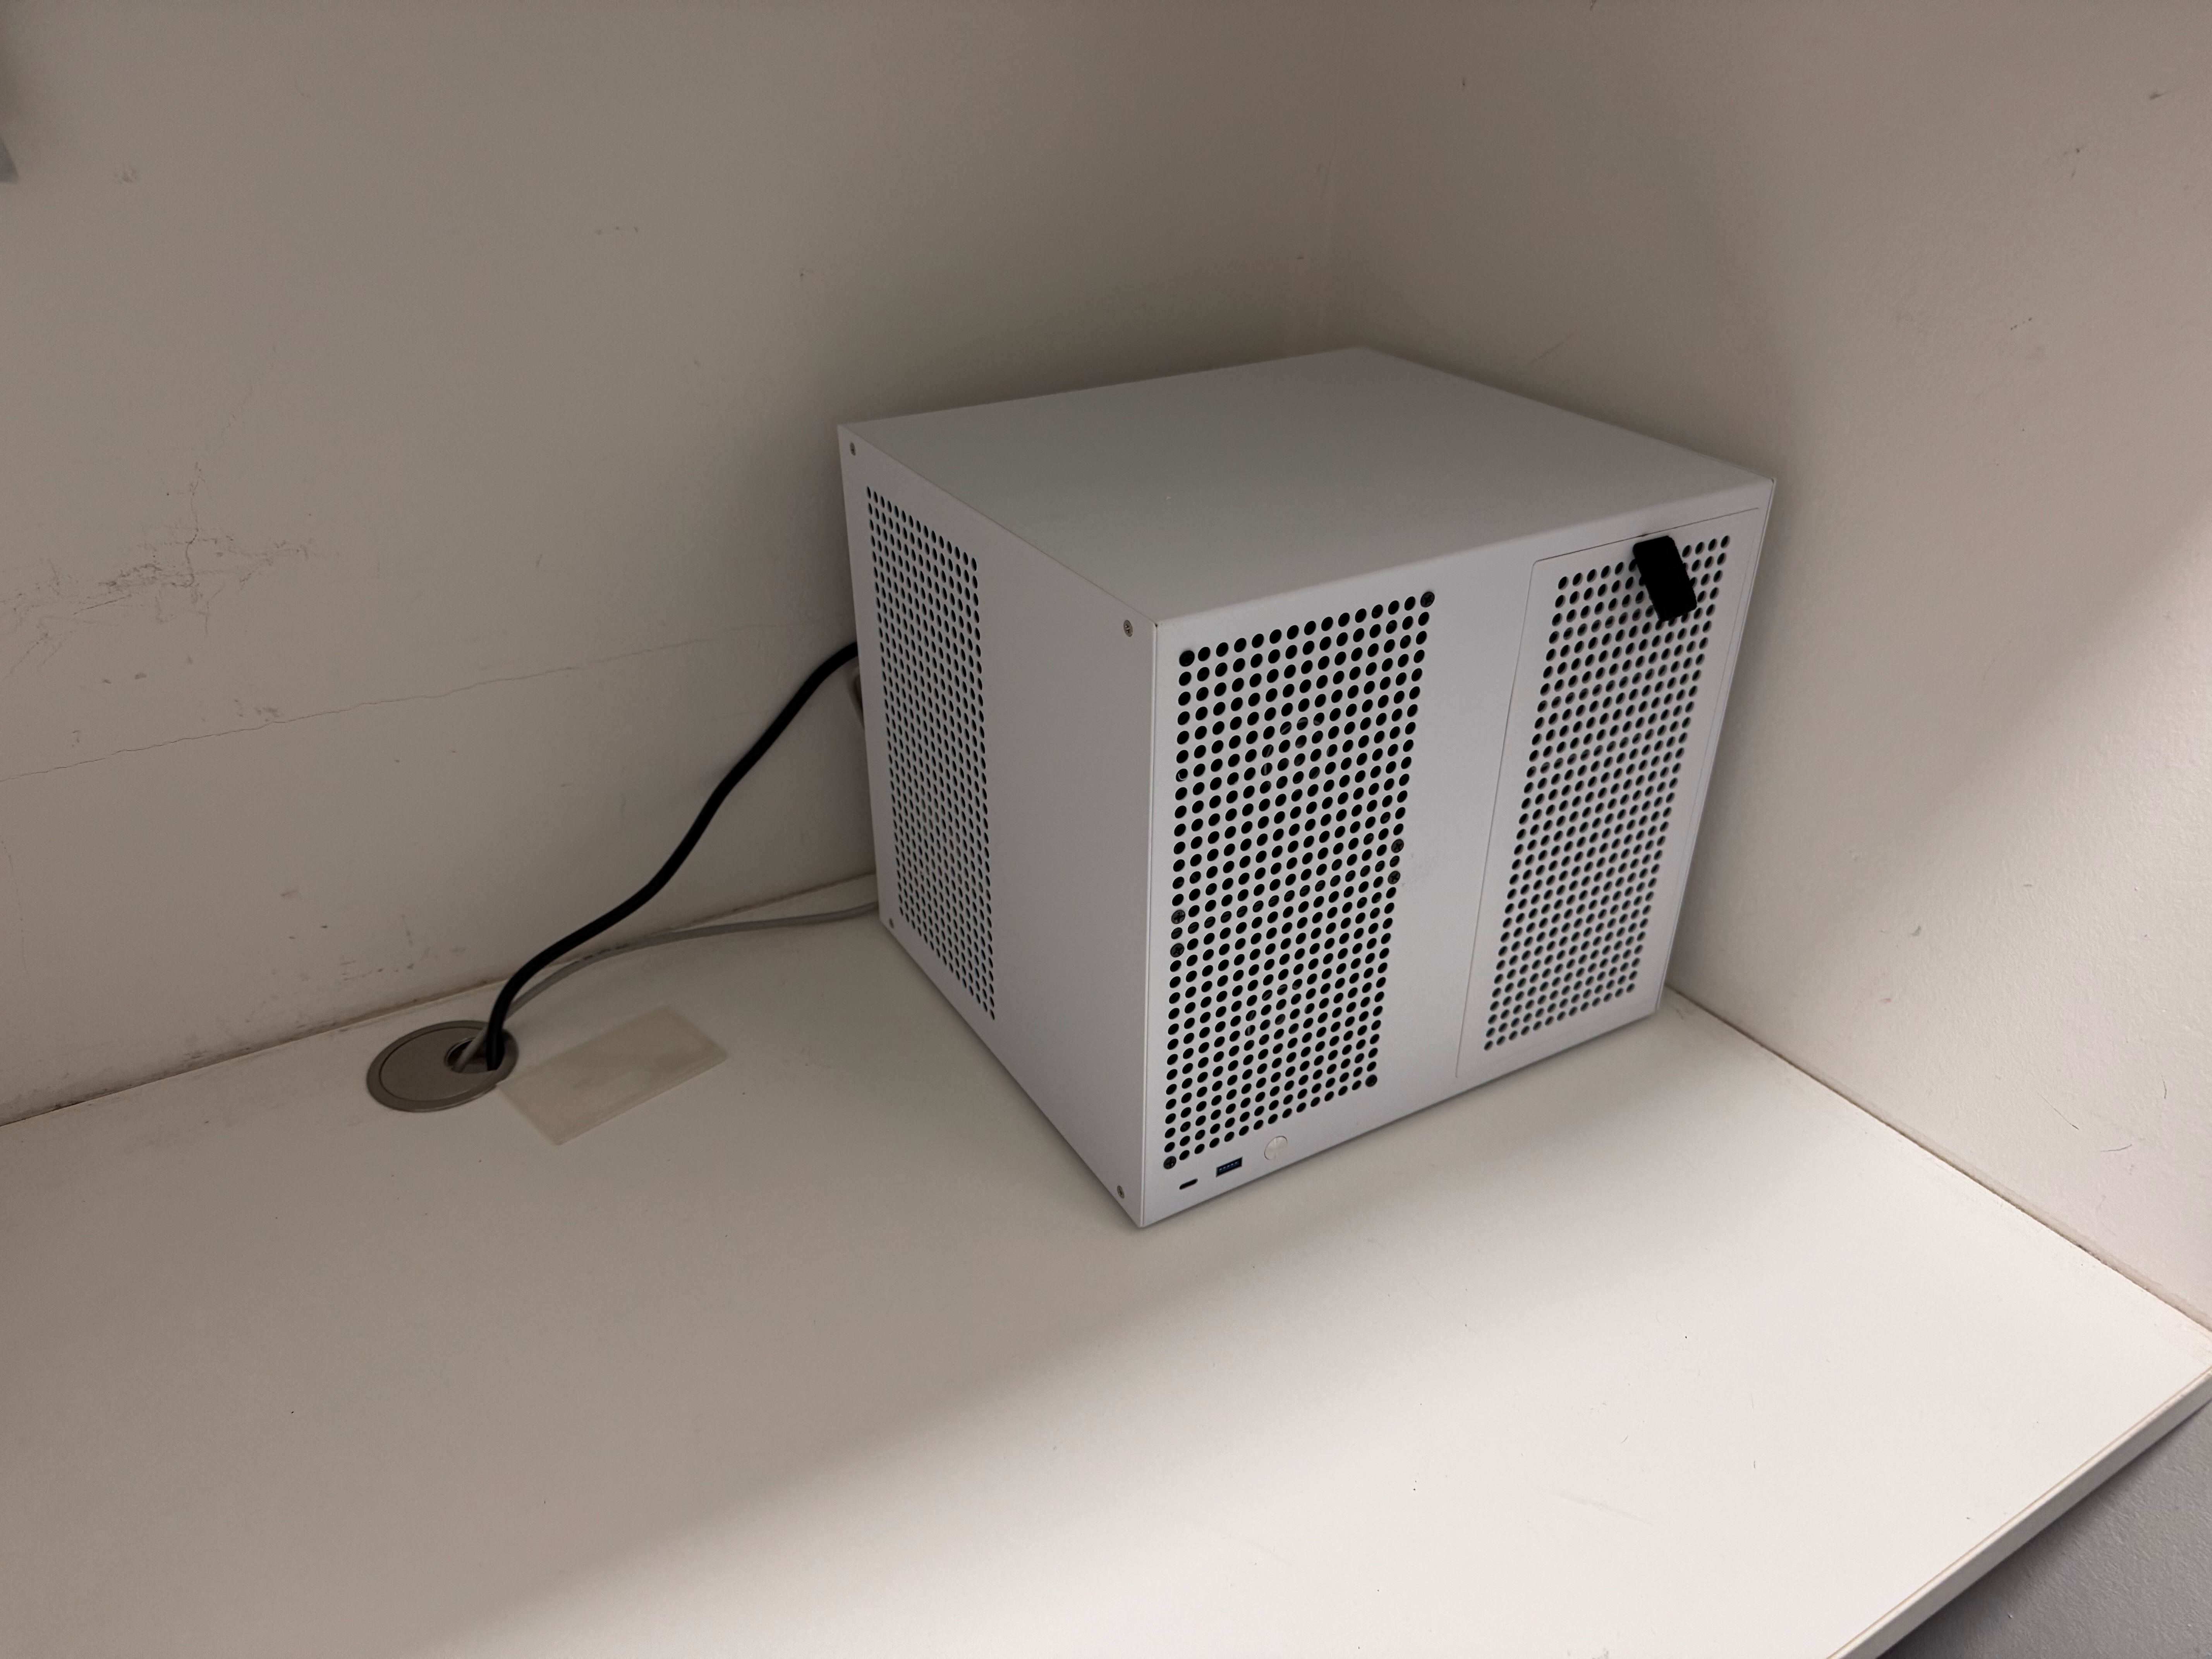
This was actually my first computer build, and I was pleasantly surprised at how easy it actually is to put a computer together without any experience or advanced tools. The only scary part was slotting the CPU into the motherboard and applying thermal paste onto it. I watched like 5 YouTube videos on it and spent like 90 minutes trying to figure out the perfect spread9.
After some not-so-careful cable management, I pressed the power button. To my surprise, it worked!
All them apps
Installing and running new apps on TrueNAS is a breeze, and when a platform lets you install apps a little bit too easily, you get an apps craze. At least that’s what happened to me.
I first started migrating apps from my previous home server, along with all the data where applicable: I moved my Jellyfin library over with little to no issues10, set up Home Assistant anew and made sure that services not tunnelled through cloudflared were accessible on my Tailnet11.
Next up was setting up Immich, which I got really excited about thanks to my friend Honza Černý of blackblog.cz. Not only did a backup of all my pictures seem like a good use of all that hard drive space I had lying around, but it also felt natural given all the horror stories I’ve heard of Google false-positively flagging people’s uploaded content as CSAM and restricting all access to their data.
In the year since initially setting it up, the hardest parts were always database migrations. The good news is that if you haven’t set up Immich yourself yet, I’d expect there to be way fewer breaking changes since their first stable release from October 2025. See the third addendum below for how I managed to actually get photos onto there.
Similarly to Immich replacing Google Photos, I set up Nextcloud as the replacement for Google Drive. Unsurprisingly, a lot of the SaaS functionality that Google is able to offer, Nextcloud just can’t keep up with, but for some things, the opposite is actually true. Like, for instance, you get to manage file encryption (which I did on the TrueNAS dataset side), you get actually fast local downloads that don’t have to go over the WAN, and there’s native integration with the macOS Finder (via WebDAV). I’ve also found it quite useful to mass-upload things onto Nextcloud either via rclone or a neat macOS GUI called Cyberduck.
I also set up Syncthing to help me continuously back up my iCloud Drive contents, and Gitea for backing up my notes that I take with Obsidian12.
I couldn’t forget running Pi-hole, redlib and qBittorrent for the times I want to download 19.5 TiB of NFTs.
Summimg up
Building a NAS ended up being a bunch of fun, and as a big surprise to me, the only big issues of the whole process I had were with the parts I was more versed in (the Google Drive downloads). Admittedly, having this NAS isn’t the end all be all for backups, but it’s a an ok-ish first step. I’ll keep you posted once I set up a second one for an off-site backup :).
I think that’s it for now. If you’re curious about anything I didn’t mention, ATProto me!
Addendum 1: downloading Google Classroom files
When attending high school, I was fortunate enough that we used Google Classroom in lieu of Microsoft Teams for homework, assignments and all that sort of jazz. Since files that are shared in the class stream do not get added to “Shared with you” files in Google Drive, persisting them required more effort.
What I ended up doing was pretty simple: go to each class’ page in my browser, open Dev Tools, and execute a script to collect file IDs. Then, with rclone, download those files by ID to a directory. The next time I attend high school and they have Google Workspace going, I’d likely automate a browser or something, now that Claude 4.8 runs my life.
You can find the source of the scripts here: filiptronicek/google-classroom-files-export.
Addendum 2: the parts list
| Component | Name |
|---|---|
| Case | 8-drive bay ATX case from Aliexpress |
| Case fans | 5x ARCTIC P12 PWM PST |
| CPU | AMD Ryzen 5 PRO 4650G |
| CPU Cooler | Thermalright AXP90-X36 |
| PSU | Cooler Master MWE Full Modular |
| RAM | 2x32 GB Kingston FURY Beast 3200 MHz DDR4 |
| HDDs | 4x12 TB HGST WD Ultrastar DC HC520 HDD1314 |
| SSD (for OS) | 512 GB Verbatim Vi3000 |
| Cables | - A molex splitter - Some SATA cables |
| Motherboard | ASROCK B550M Pro4 15 |
Addendum 3: seeding Immich
The first phase of my Immich backup was very simple: get their iOS app and turn on background uploads. This took many, many days, but finished crunching through the ~19,000 photos and ~2,500 videos eventually. When downloading the app initially, it wasn’t the most native-feeling and some of the core functionality was really not on par with Google Photos, but that’s since improved, a lot16.
To actually prevent myself from getting locked out of my digital picture memories, I had to move all of Google Photos, my source of truth for everything I ever shot up until that point, to Immich.
Since I was not about to sift through 460 GB of pictures and put them into albums myself, I recruited the help of simulot/immich-go, which advertised first-class support for Google Takeout archives. Unlike the Google Drive export, the size here was under a terabyte, which meant that after requesting the Takeout, I could just get Google to save it onto my personal Google Drive and download the 50 GB zips from there.
After downloading all the archives all onto the NAS, I downloaded the immich-go binary and have set up an Immich API key. Then, I ran this command that went through all of the archives and uploaded the assets onto my local Immich instance.
../immich-go upload from-google-photos --server=http://localhost:30041 --api-key=<my-api-key> --concurrent-tasks=4 --client-timeout=60m --pause-immich-jobs=true --on-errors=continue --manage-raw-jpeg=StackCoverJPG --manage-burst=Stack /mnt/main/media/throwaway/takeout
I tmuxed this and let it run, and after checking back in a couple hours, it was completed with little to no errors. De-duplication seemed to work flawlessly – I expected most pictures to be re-uploaded because of checksum mismatches between the iCloud originals and Google Photos optimized pictures, but it ended up not being an issue at all.
Just like that, almost 5,000 new videos and 50,000 pictures were happily sitting on my ever-growing timeline of life.
Addendum 4: the AI hardware cost crisis
As you’ve probably heard, we’re finding ourselves in the middle of a memory supply shortage, which caused RAM sticks to be about 400% of their prices just a year ago, and caused related components, such as SSDs and even HDDs, to go a similar route. This is why I could buy the 64 GB of DDR4 RAM for €111 and the 48 TBs worth of HDDs for €622.07. Today, the HDDs alone would cost me more than double, but even if I wanted to buy them anyway, they’d be all out of stock8.
As we’ve made more short films over at TagTram Studios, space on those hard drives has begun to tighten. I’m currently looking at about 6 TB free out of the original 24, but just can’t justify buying any new hardware at this moment. Really hoping for all this to be over within a year or two – it’s a really bad time for personal computing right now. Telling my friends and family to hold on for dear life on all hardware they have today, is, as a computer nerd, tough. Things are what they are, though, and let’s see what comes up from all of this.
Footnotes
-
At the time, a 50 Mb/s XAVC video stream seemed bonkers large to me. ↩
-
This, in turn, forced some of my classmates to start backing up their photos to their school Google account. Similar to using your corporate email inbox for personal matters, a really bad idea considering what happens when you get fired. ↩
-
Fun fact: at that time, my Google Drive hovered around 12-13 TB, which meant I was using about an eighth of the entire school’s quota. ↩
-
Although you can likely make it work, they really don’t want you to. ↩
-
It’s the classic cloud data storage problem LTT ran into some years back: I Hope Google Doesn’t Ban Us… - Abusing Unlimited Google Drive - YouTube ↩
-
The Backblaze Personal backup offering surprisingly also beats Amazon Glacier Deep Archive costs (with no monthly retrieval allowance). Quite cool. ↩
-
Though, that’s likely not going to happen any time soon [1]. ↩ ↩2
-
If you’re struggling yourself, first, don’t worry about it so much, and second, go watch this video on it. ↩
-
Though this was just the media files, all user data was set up from scratch, so I lost things like watch history / playlists. ↩
-
The Tailscale integration in TrueNAS is like any other app, which means isolated in a Docker container without many system-wide privileges. This makes things like passwordless SSH harder. ↩
-
I am actually using Obsidian to write this blog post! ↩
-
I got these refurbished from Amazon.de, and they reported pretty good results on all SMART tests I’ve run on them. All 4 came with about 32K power-on hours and no bad sectors, which boosted confidence. ↩
-
In RAIDZ2, this means about 24 TB of usable capacity ↩
-
Initially, I was really keen to find a good deal on the Gigabyte MC12-LE0, which Wolfgang featured in his video as a super cheap option for a perfectly good motherboard with support for ECC memory. I am unsure if it was just due to his showoff, but it left the stock of the MC12-LE0 in shambles, with extreme price hikes ever since. I found the ASROCK B550M Pro4 to be a good, even if ECC-incompatible replacement. ↩
-
It’s still written in Flutter, so manage your expectations ↩